bFunc - Quickstart Guide
bFunc is now officially shipping! Since actual human beings will be using this in a few short days, it’s time to write a little quickstart guide to get folks up and running on the hardware.
Very Quick Start
- Connect the board to your computer.
- Find the right virtual com port device.
- Open that com port device in your favorite terminal emulator software, and hit enter for a prompt!
Step One
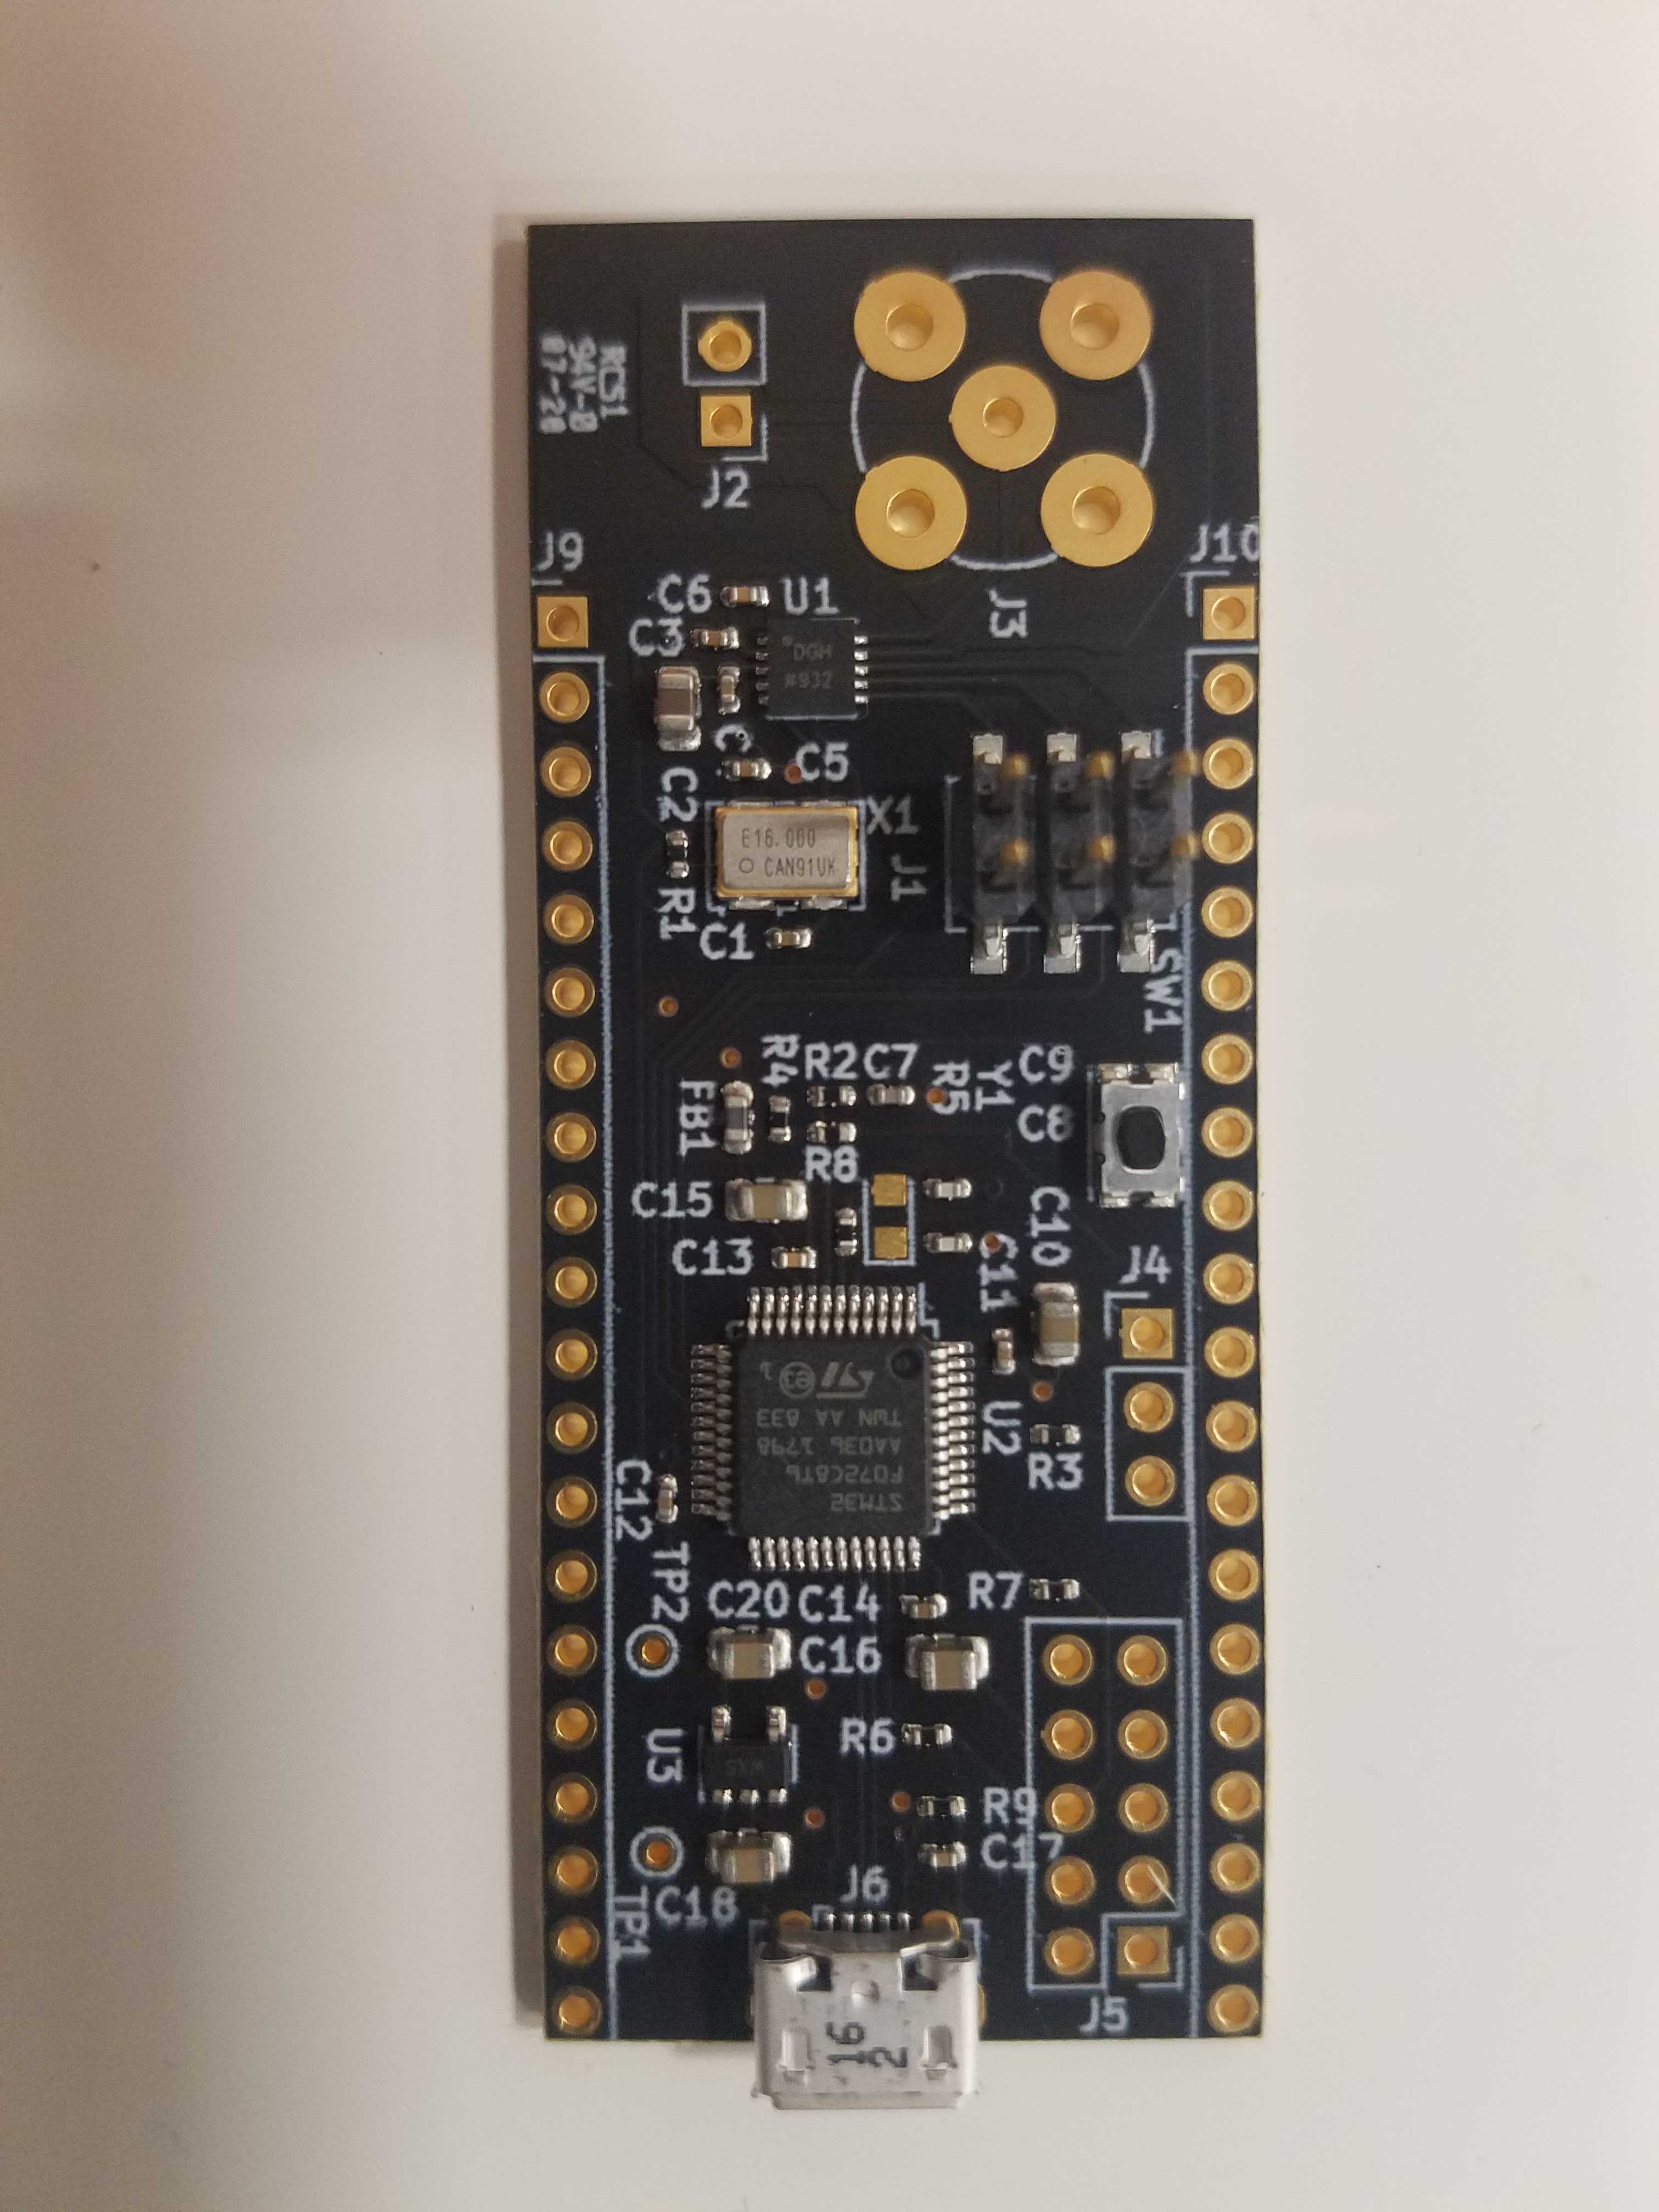
Plug a USB cable into your bFunc board, and the other end into your computer.
Note: I recommend, at least for the first try, that you plug the board directly into your computer, and not into a USB hub. I’ve tested bFunc in my home lab both with and without a USB hub. The board works just fine behind a hub, but for some reason, it occasionally fails to enumerate a Virtual Com Port ID behind a USB hub when on Windows machines.
Step Two
Find the appropriate device in your software stack. This varies slightly by operating system.
Windows
- Open Device Manager. (I don’t know the exact path, but I know hitting the Windows key and searching “Device Manager” always gets me to the right place.)
- Look for a new device under the “Ports (COM & LPT)” menu tree.
- As a double check - unplug your bFunc board, and verify that new device disappears. If it does - you’ve got the right device!
macOS/Linux
- Open a terminal console.
- Search the TTY device directory for a new TTY device. A handy oneliner for this is
ls /dev/ | grep -i usb. You should find something likecu.usbmodem00000000001A1ortty.usbmodem00000000001A1. - As a double check - unplug your bFunc board, rerun that
ls /dev/oneliner, and verify that the device disappears. If it does - you’ve got the right device!
Step Three
Use platform appropriate terminal software to access the board.
Windows
I prefer the PuTTY terminal emulator package, and that’s what I’ll be using for this example. To connect to the board, click the “Serial” tab, and enter the COM port you found earlier in the device manager. Since this is a virtualized com port with auto-baud rate, it’s not important that you add a baudrate. (I frequently add 115200 from force of habit.)
Open the connection. Hit enter on your keyboard. You should be rewarded with a command prompt, which looks like $> . Cool!
macOS/Linux
I have mostly been using the screen utility built into macOS, and that’s what I’ll be using for this example.
screen sessions are easy to start. Just enter something like the following in your terminal, replacing with the usbserial device you found in the last step:
screen /dev/xx.usbserial-XXXXXXXX 115200
Open the connection. Hit enter on your keyboard. You should be rewarded with a command prompt, which looks like $> . Cool!
Command Syntax
bFunc prioritizes simple human interaction over speed at this point. All commands roughly follow this schema for syntax. The snippet shows how space delimited fields are echoed back to you upon hitting the <return> key. :
$> <param> <value1> <value2>
<param>
<value1>
<value2>
$>
So, for example, if you wanted to set a sine wave output, with a frequency of 3kHz, and a phase of 45 degrees, you’d type the following:
$> sine 3000 45
sine
3000
45
$>
You also have the option to modify just the waveform setting, without changing the frequency or phase settings, by just typing the name of the selected waveform:
$> sine
sine
$> triangle
triangle
$> square
square
$>
You can also modify the frequency settings or phase settings without changing the waveform type:
$> freq0 10000
freq0
100000
$> phase0 57
phase0
57
$>
A more complete, official document for usage is bound to follow, but this is enough to get most of the critical functions out of the board!