How To Draw Pictures for the Internet
I love drawing. I’m terrible at it, but I find it’s a great way to organize my thoughts, and get a concept across to other people. I carry a notebook at work to complement my huge Evernote stash of digital text with shoddy pen drawings. I’ve tried and tried to find a way to share drawings online, but I haven’t been able to find a drawing app or tool that gets close to good old pen and paper.
So, instead, I decided I’d figure out a way to share an old fashioned pen and paper drawing with the internet. There’s no ready made how-to guide for it, and, it turns out, it’s not that hard! (Maybe that’s why there’s no guide?)
You Need Big, Bold Colors
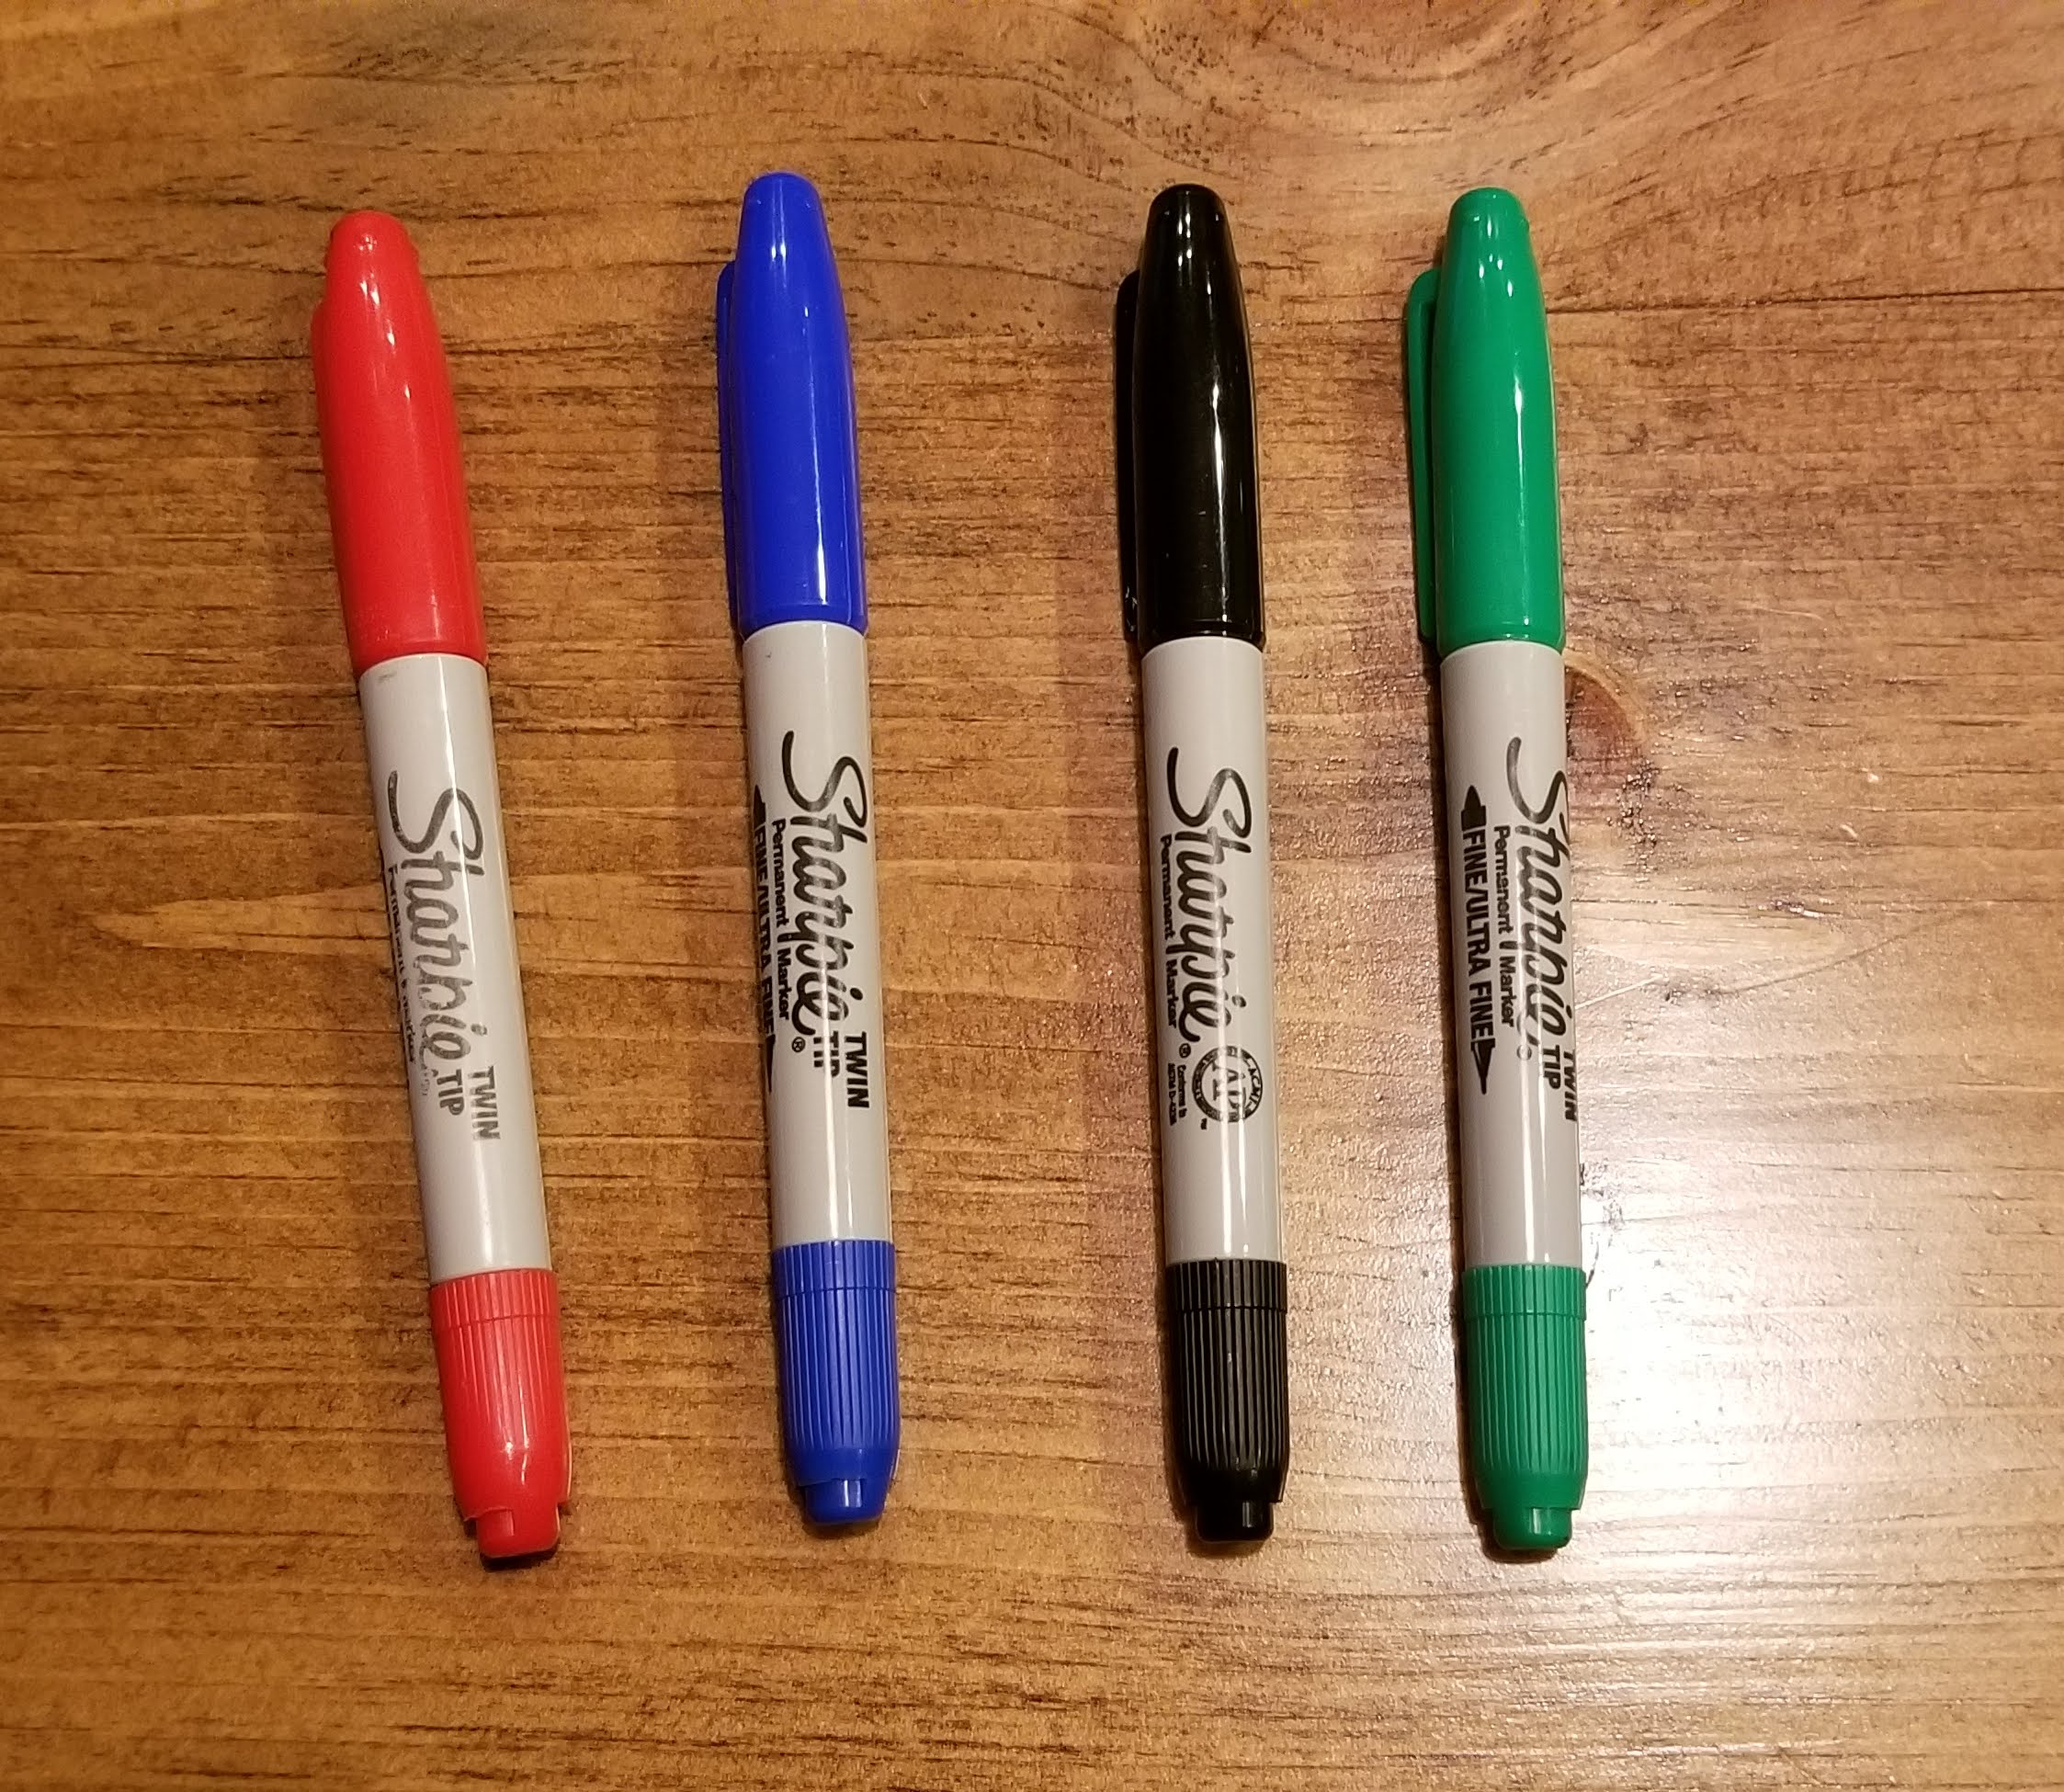
Fat lines with standout colors are your best friends in this situation. Ain’t nothing that makes a fat line in a standout color like a good old Sharpie. I originally got double ended Sharpies thinking that I’d intersperse fat Sharpie lines with finer pointed text, but I found that most of the time, you can’t really see the fine print next to the bold classic Sharpie tip.
You Need a Frame
It’s a lot easier to make your drawing look good online if you can crop it to be fairly centered. This is a lot easier if you do a little work to center your drawing on the page.
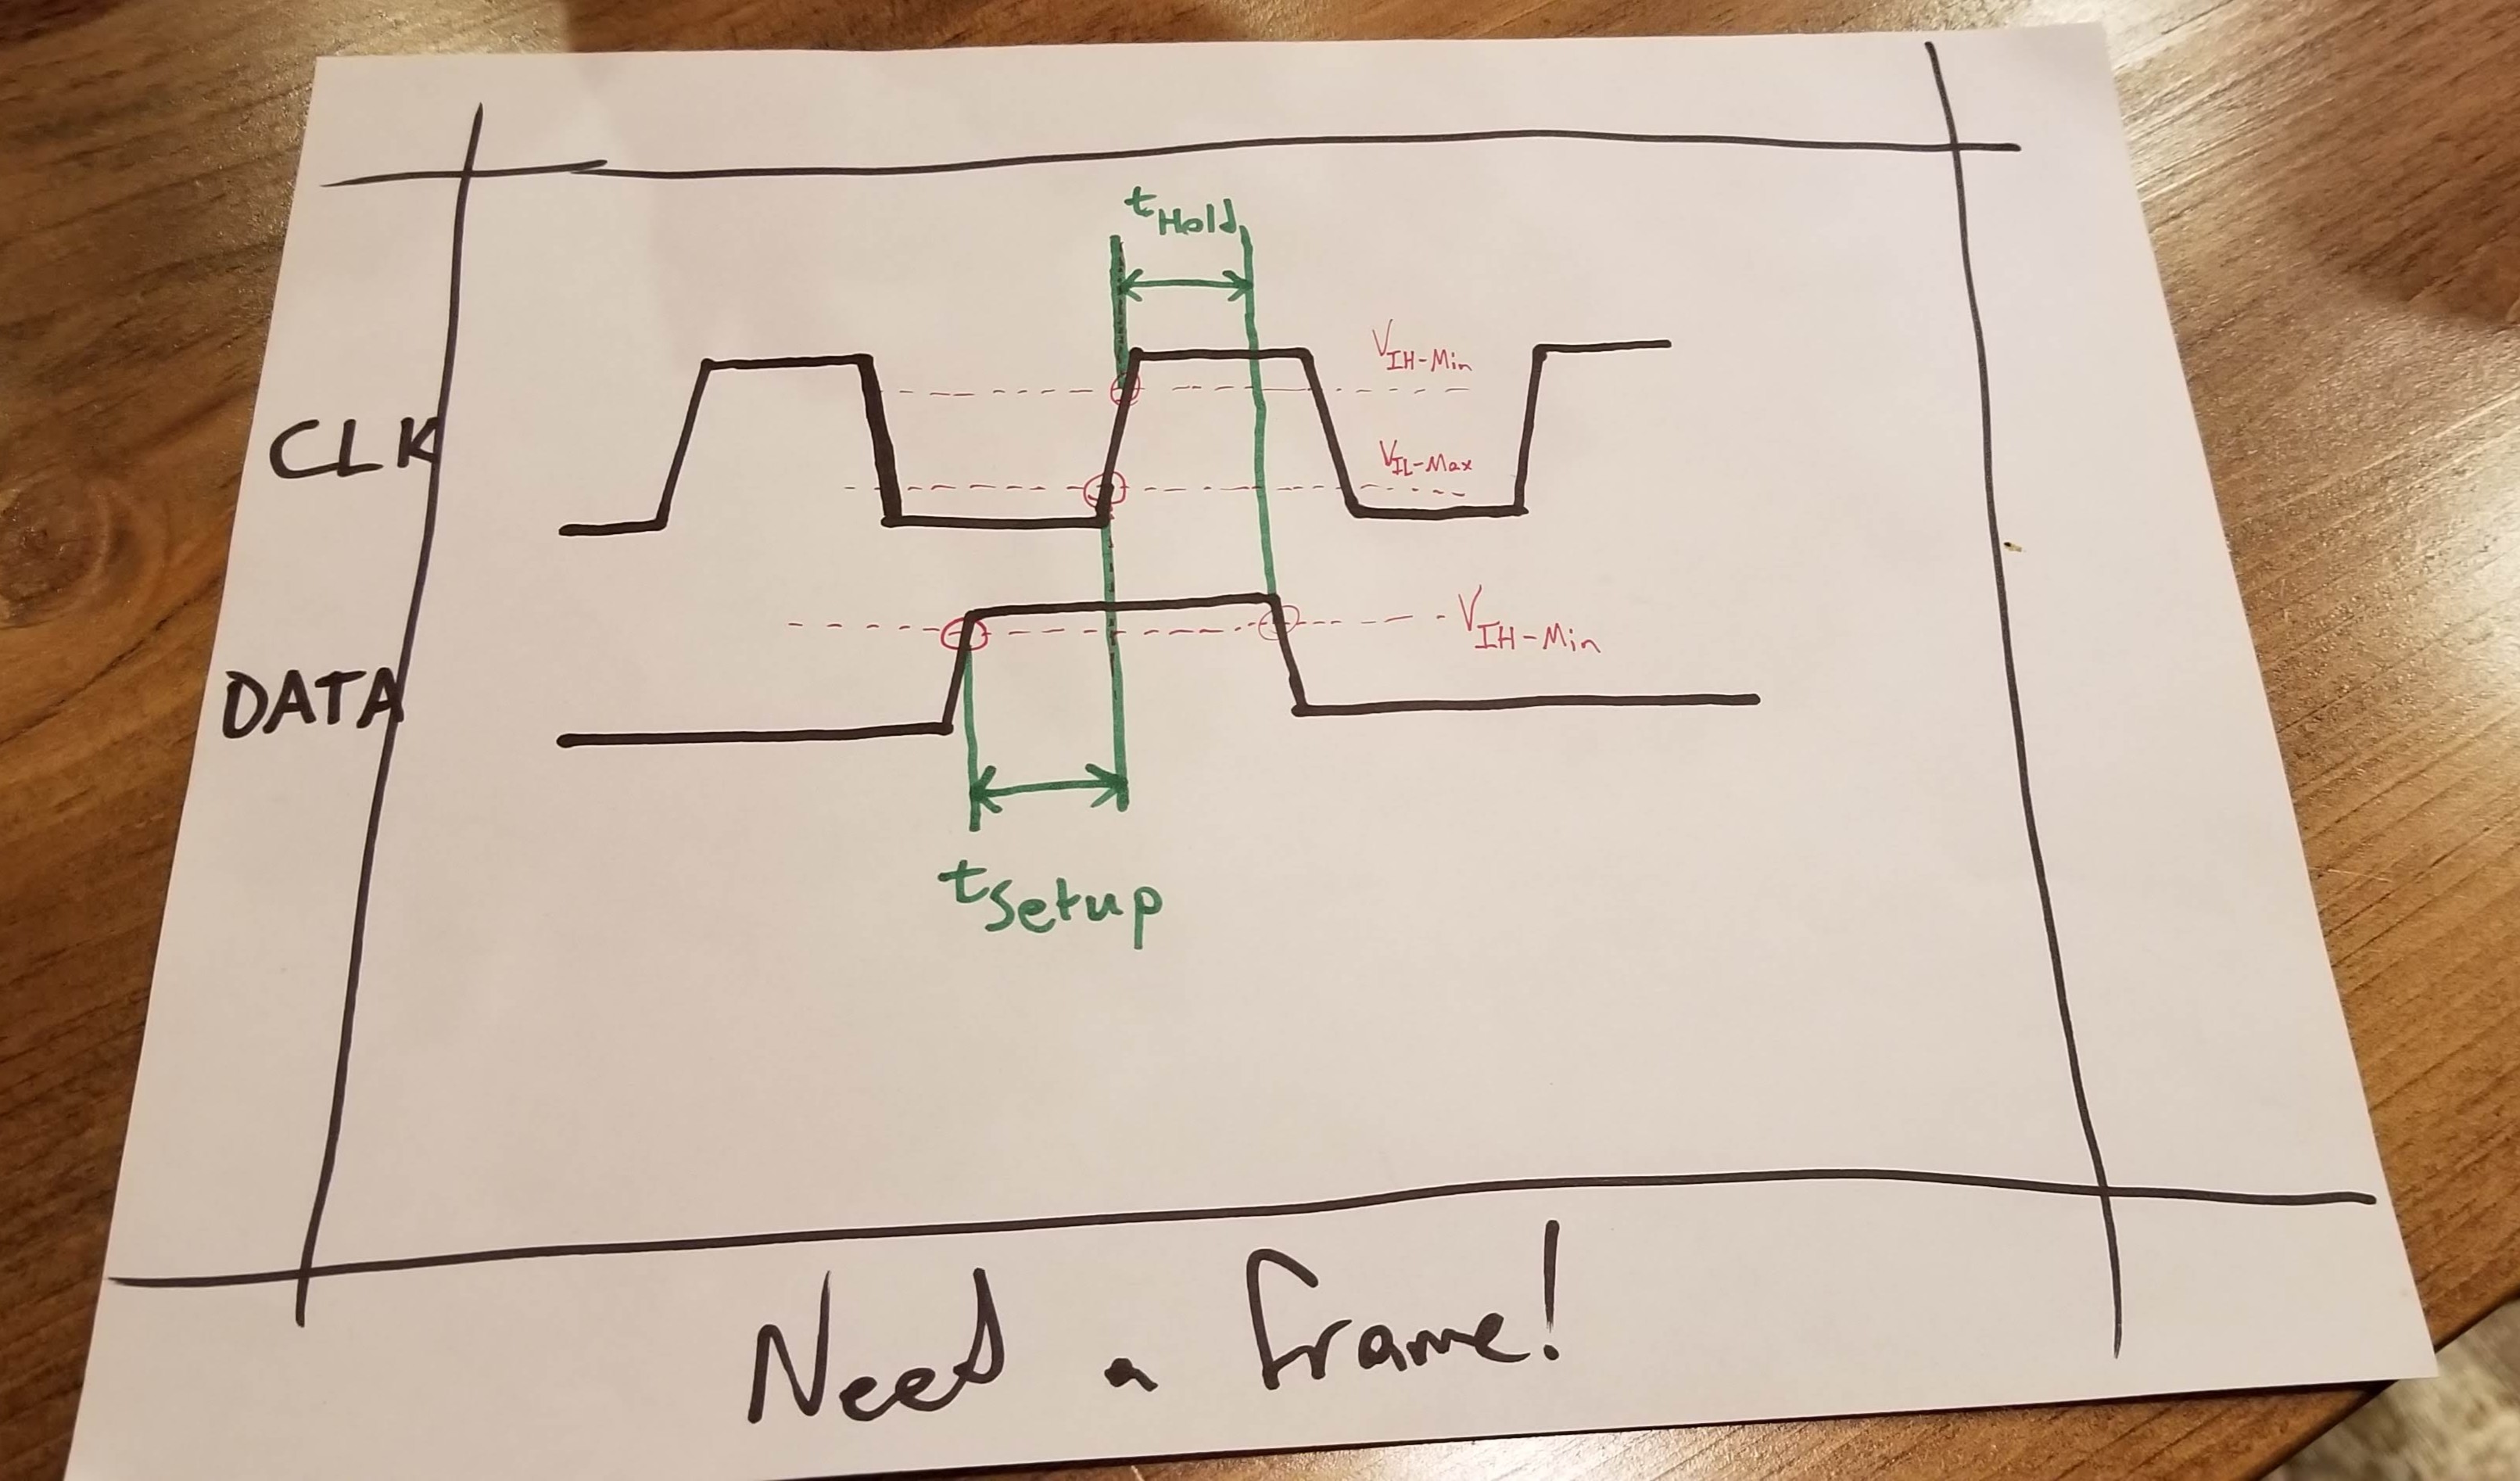
I achieved this by making a simple little cardboard “frame” that gives me an idea of where my margins are. This forces me to leave about an inch of blank space on the edges of the frame for cropping.
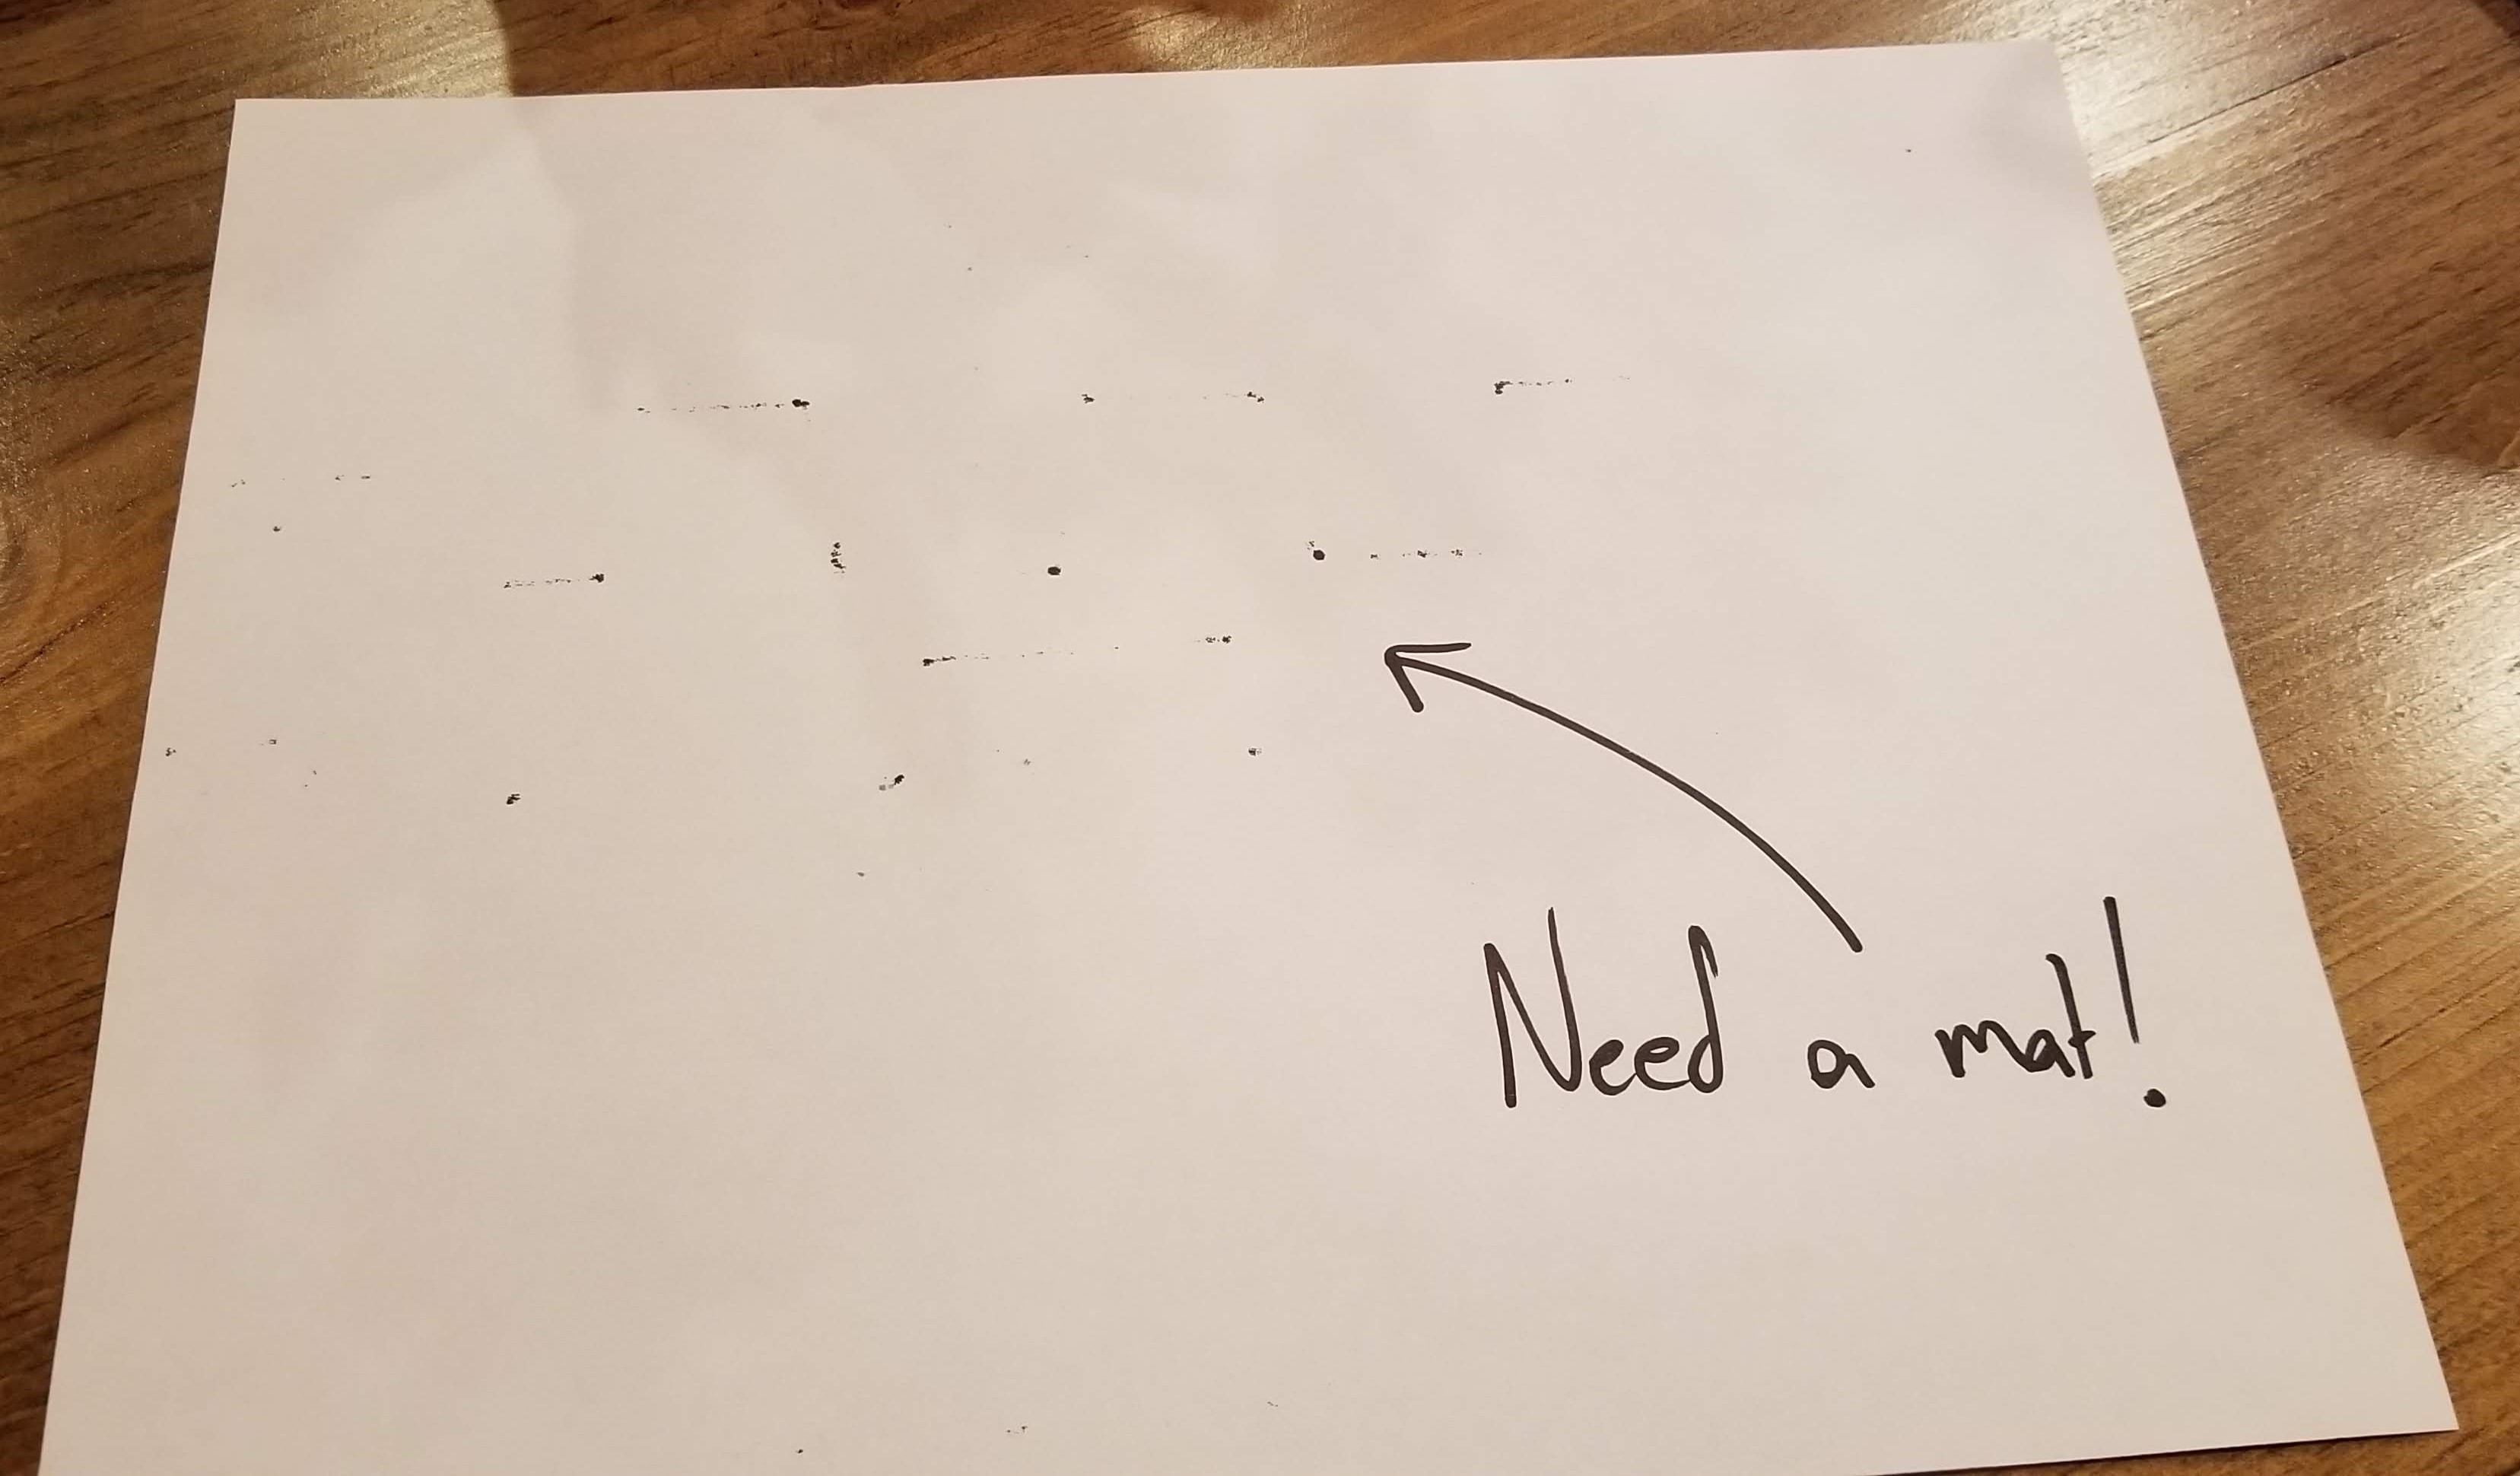
You Need a Mat
Or, actually, two mats.
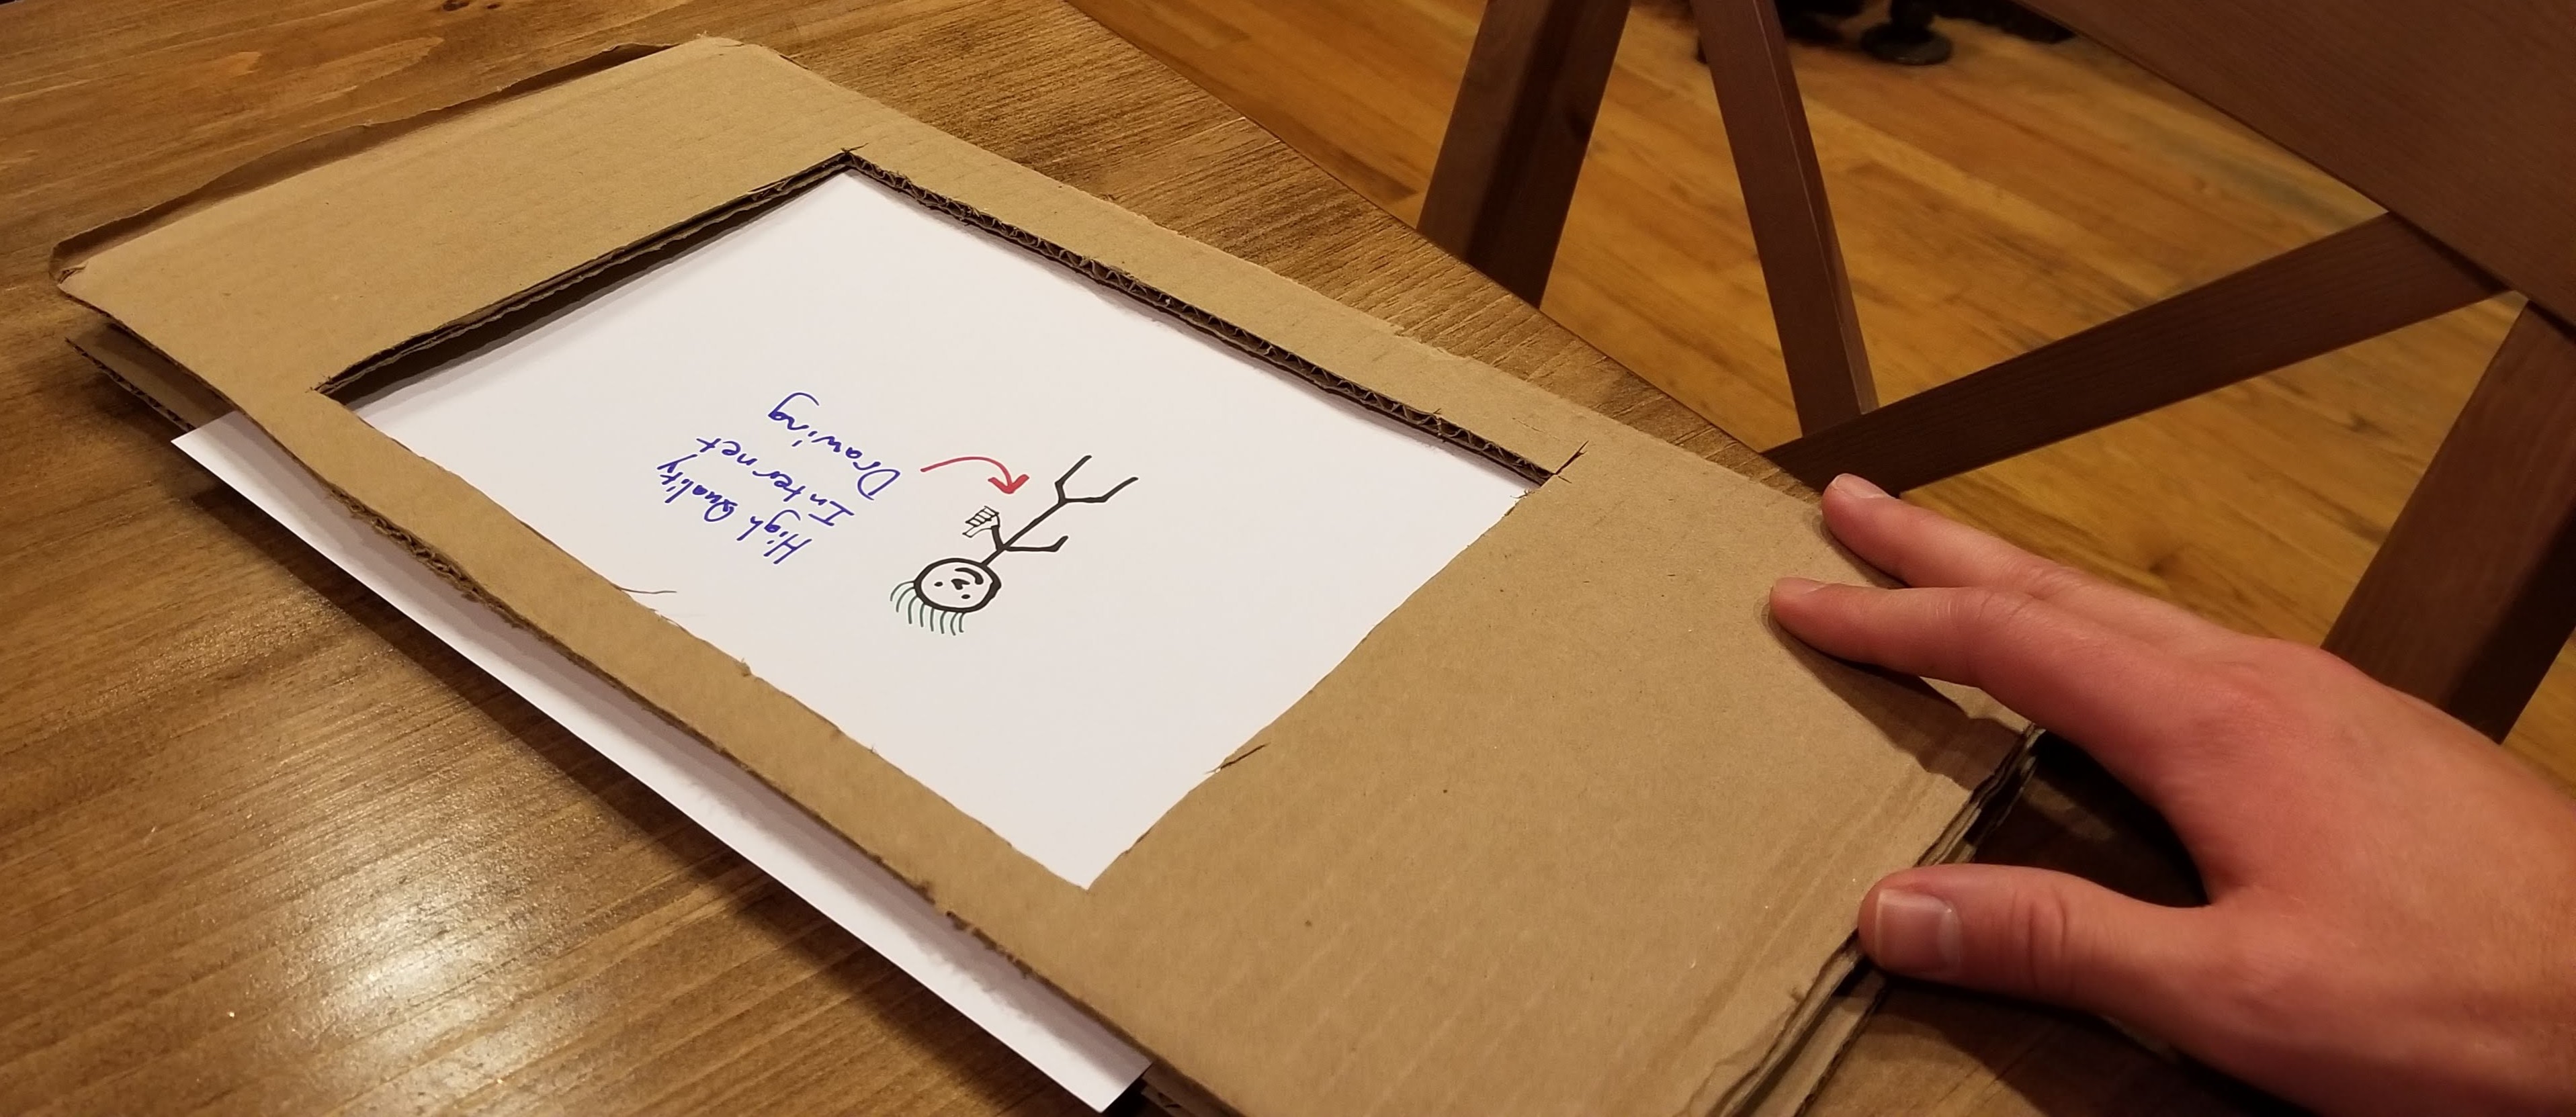
The obvious first mat is the one that you’ll put down to prevent Sharpie from bleeding through onto every surface in your house. I got a two-for-one deal when I made that crappy little frame, because the frame folds over to provide a backing mat for the paper.
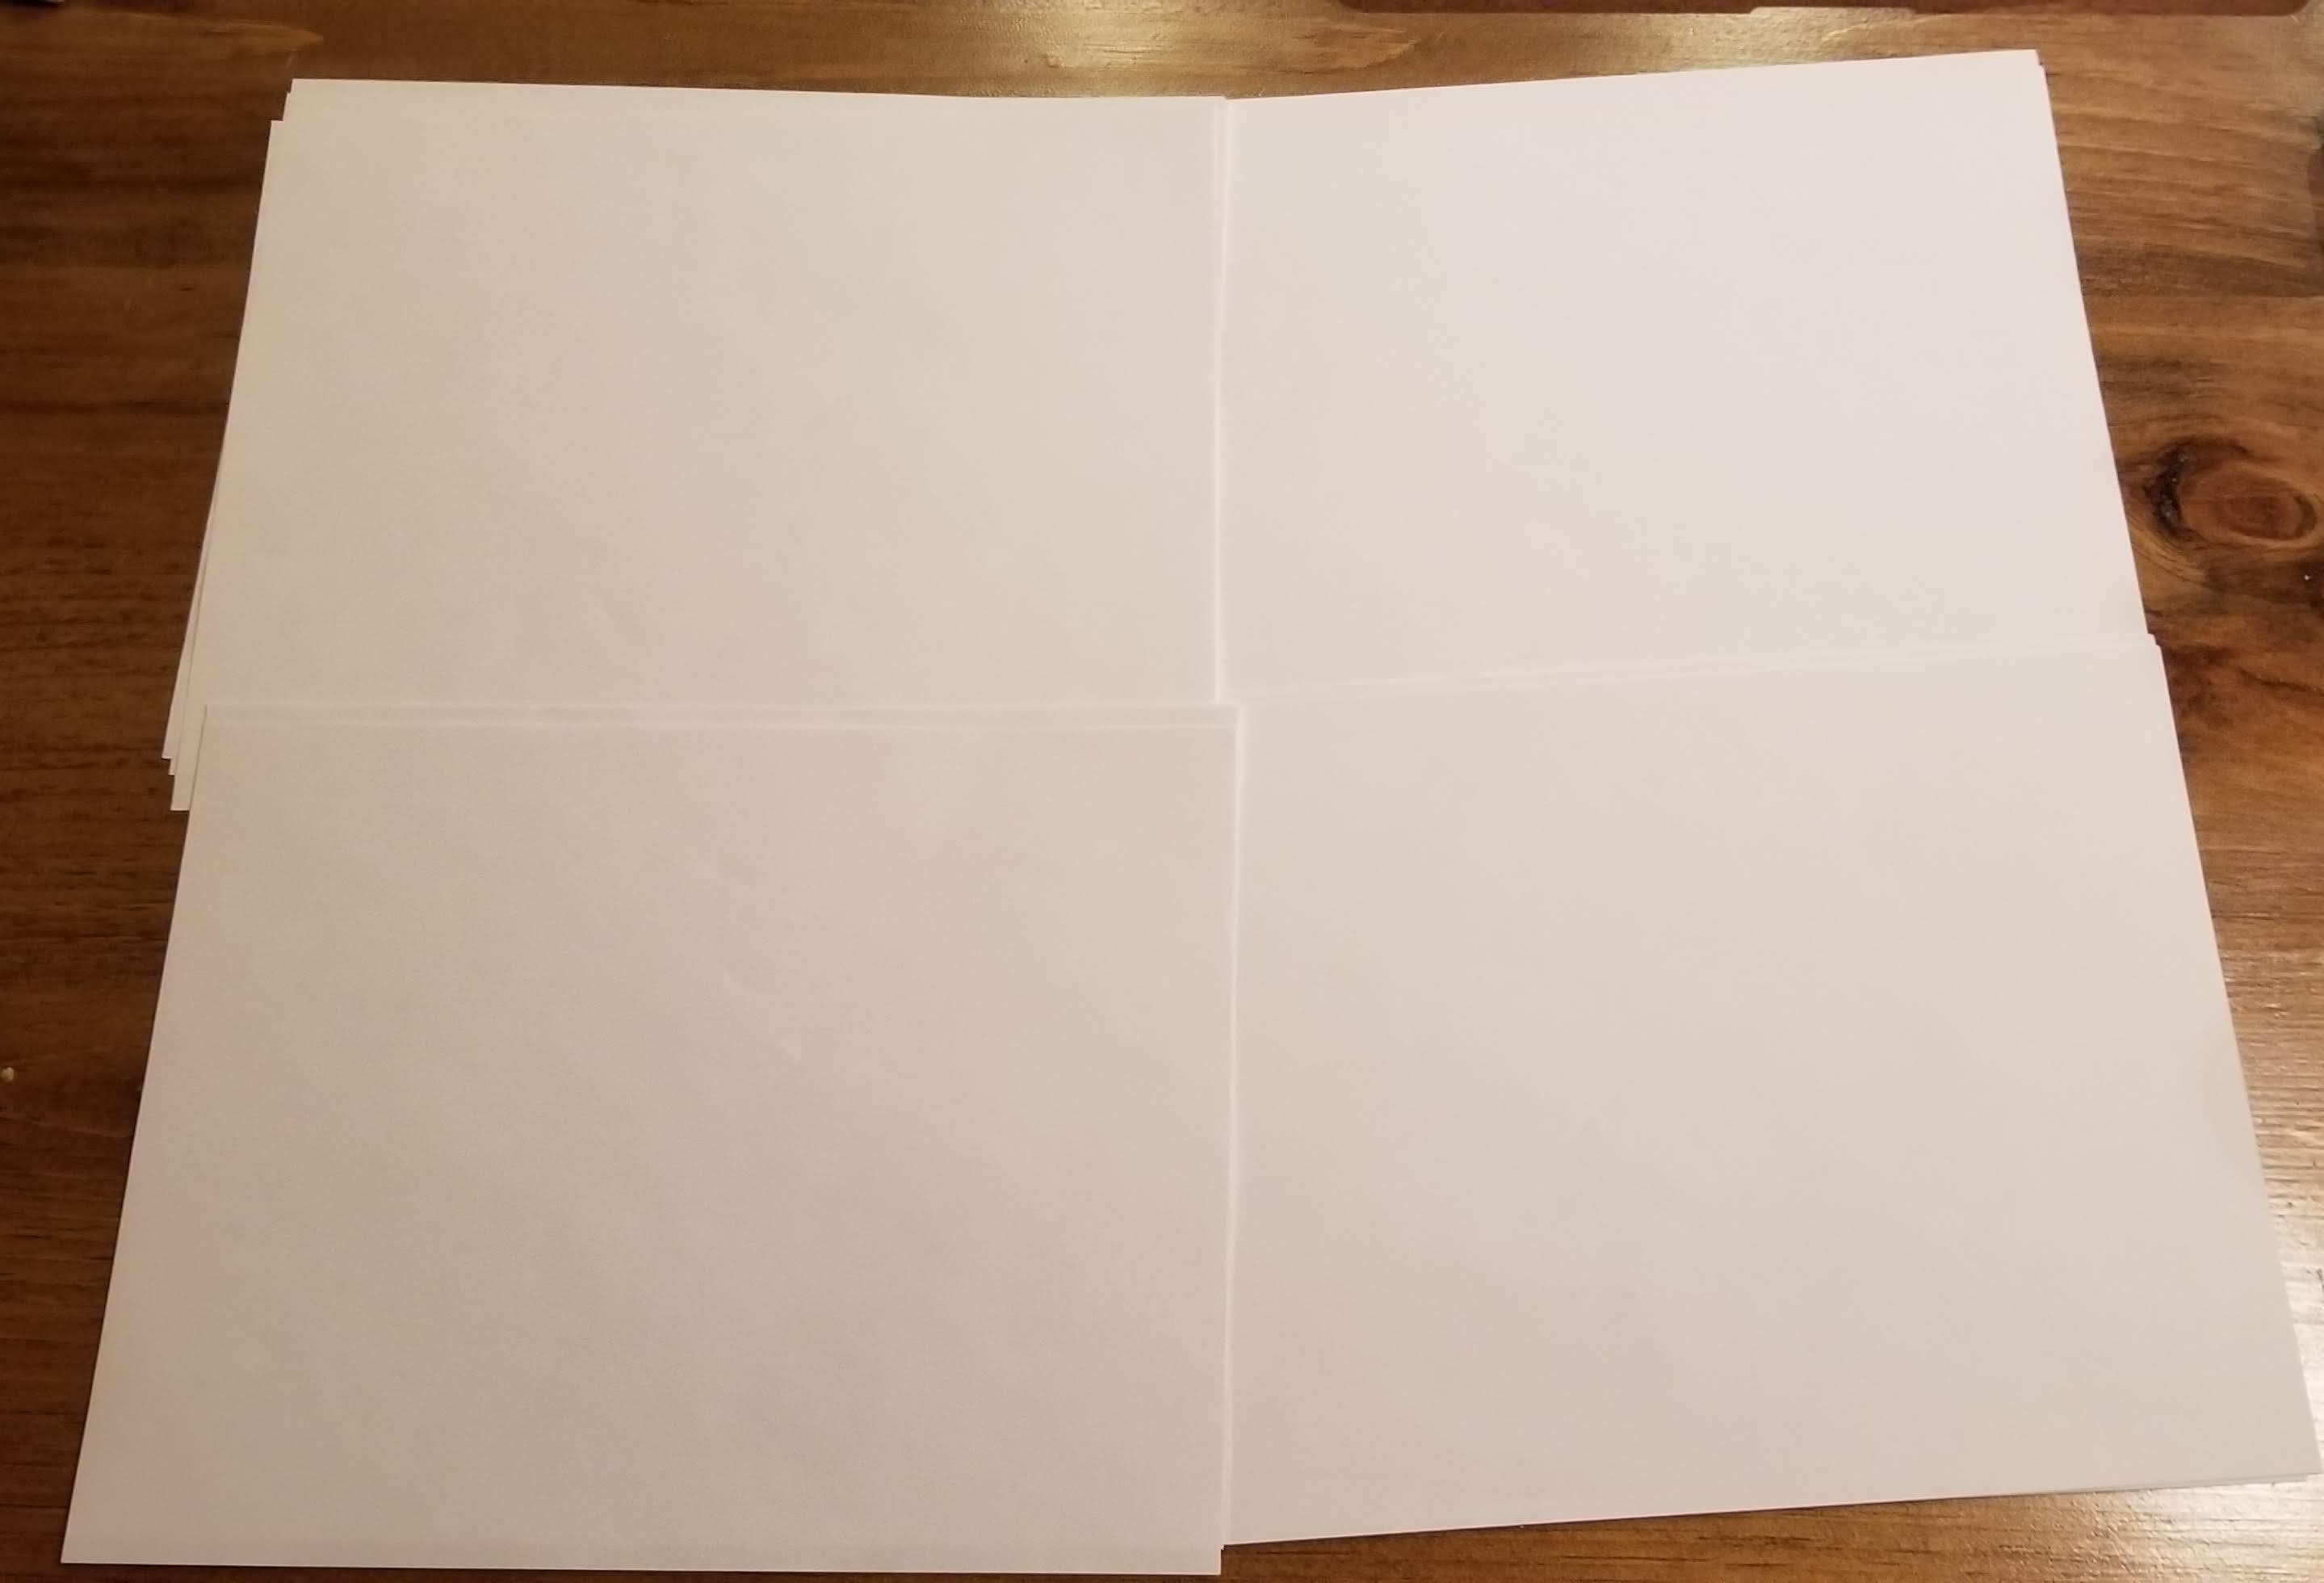
The less obvious second mat is the one that you put down to make a nice even surface behind your picture for photographing. I like to draw on nice plain-jane 8.5x11” paper. I put down a little mat of paper behind the picture I’ve drawn so there’s a big, evenly-white surface behind it. This helps get even lighting across the picture I’ve drawn.
You Need a Desk Lamp
A high resolution image of your drawing is no trouble at all, cell phone cameras being what they are these days. Getting a shot with even lighting is a little trickier - your picture will look a lot better without shadows and with uniform brightness across the page.
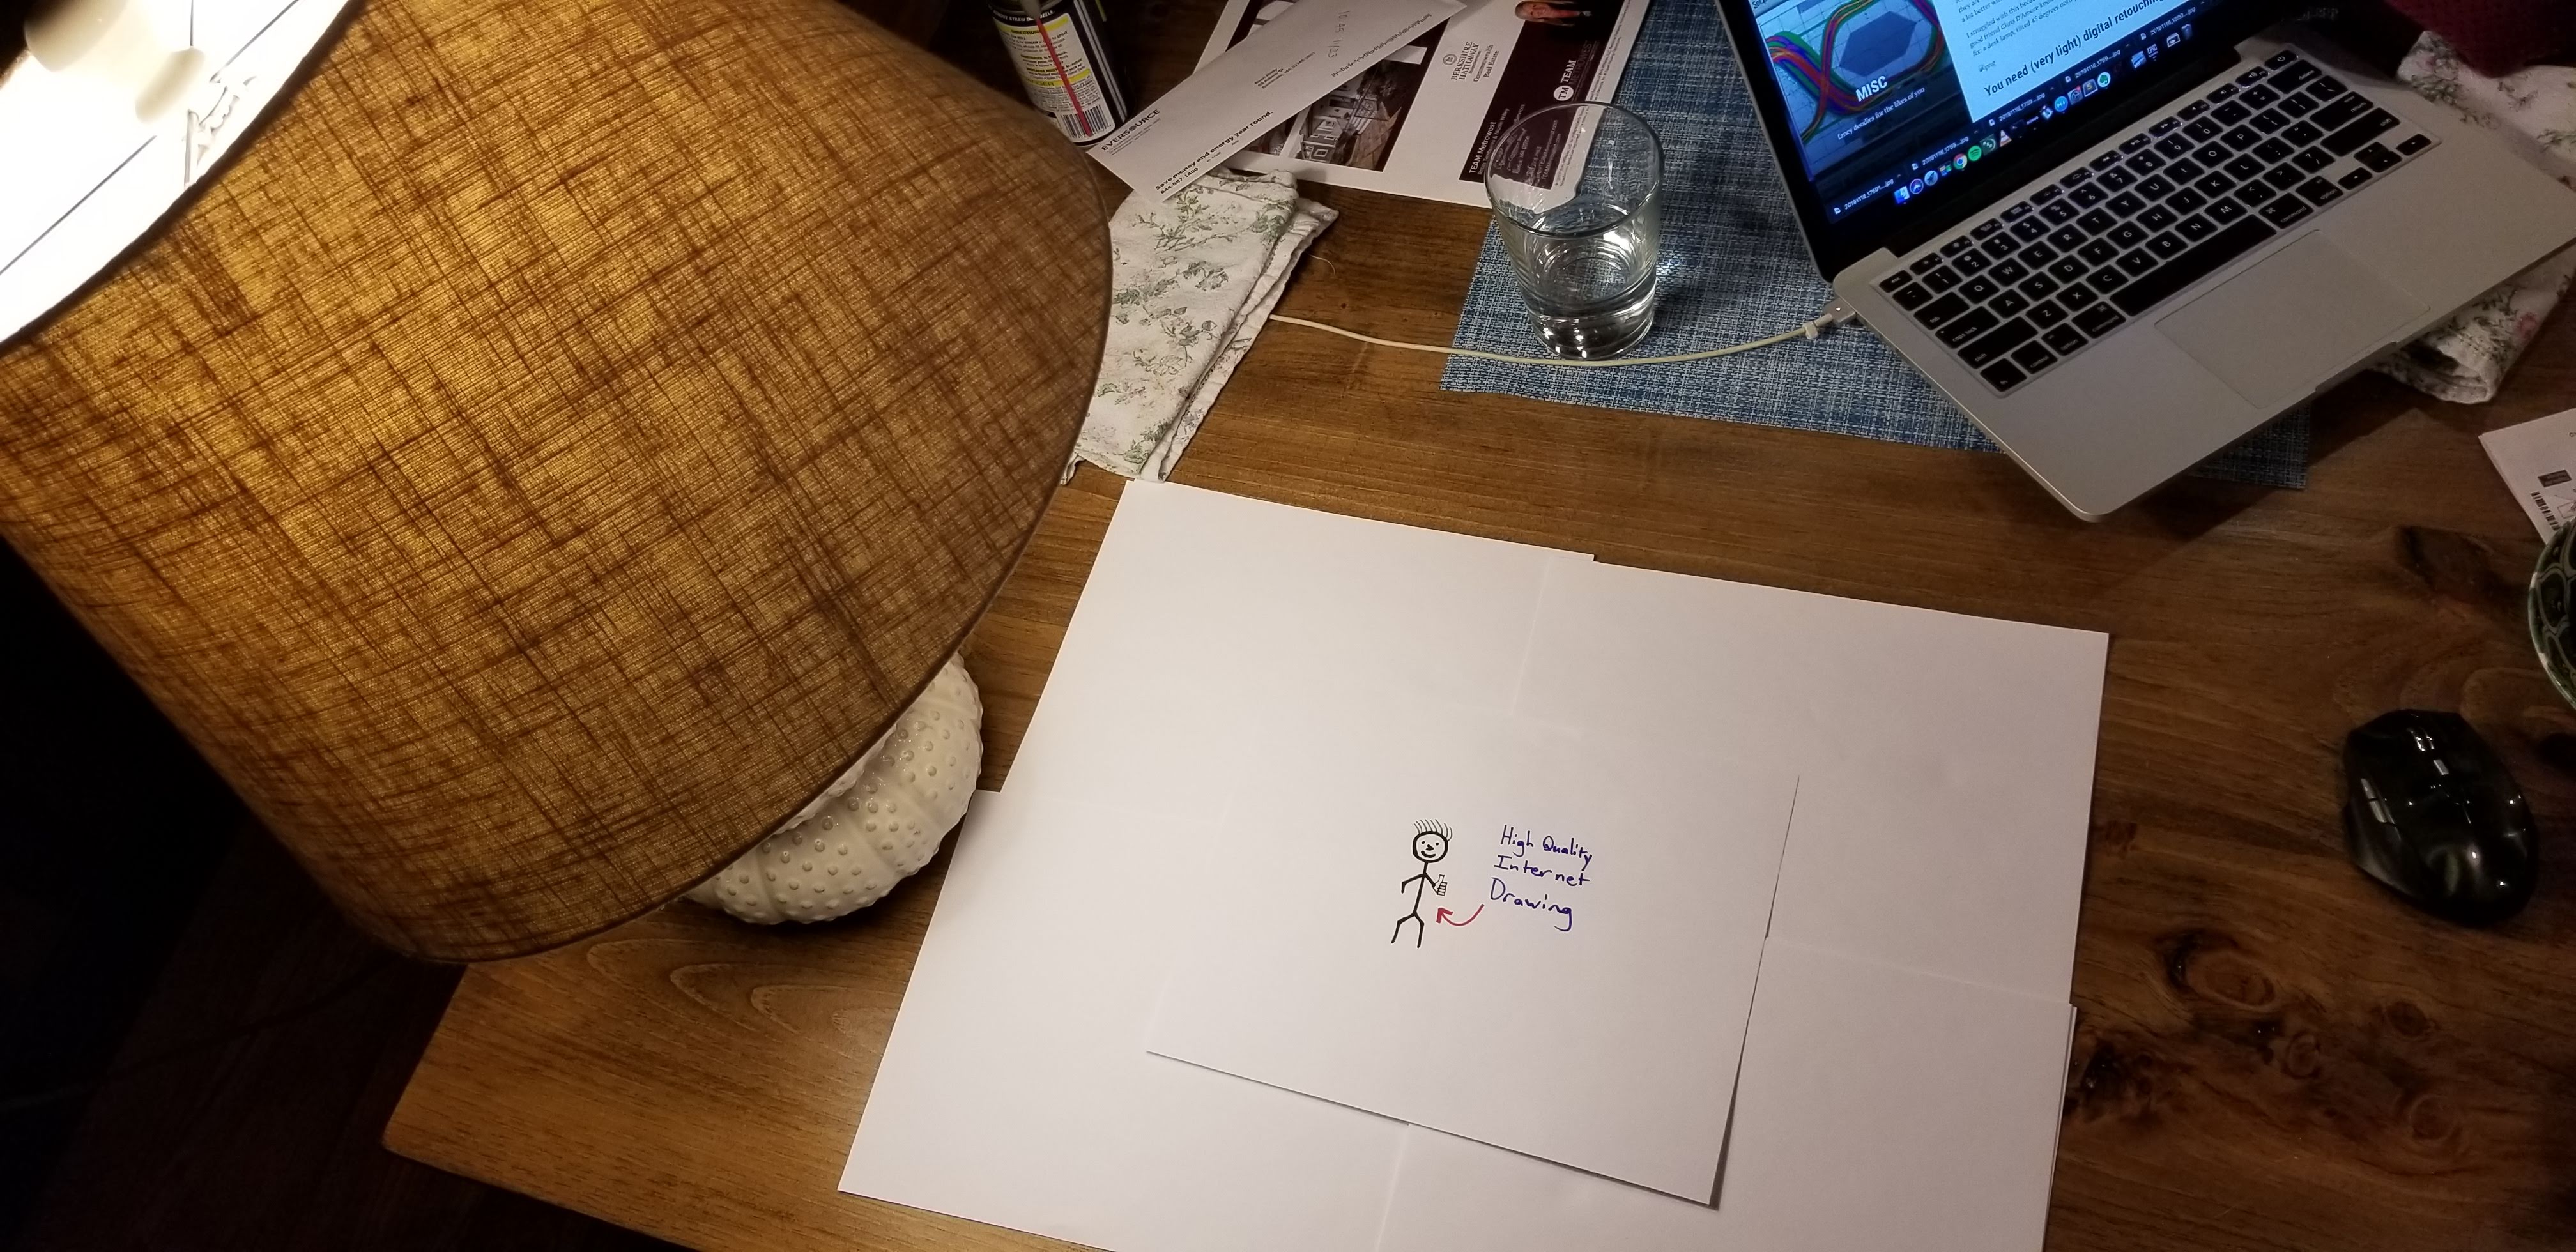
I struggled with this because I’m kind of stupid when it comes to photography. However, my good friend Chris D’Amore knows a bunch about photography, and suggested a real simple fix: a desk lamp, tilted 45 degrees onto your work surface. Worked like magic!

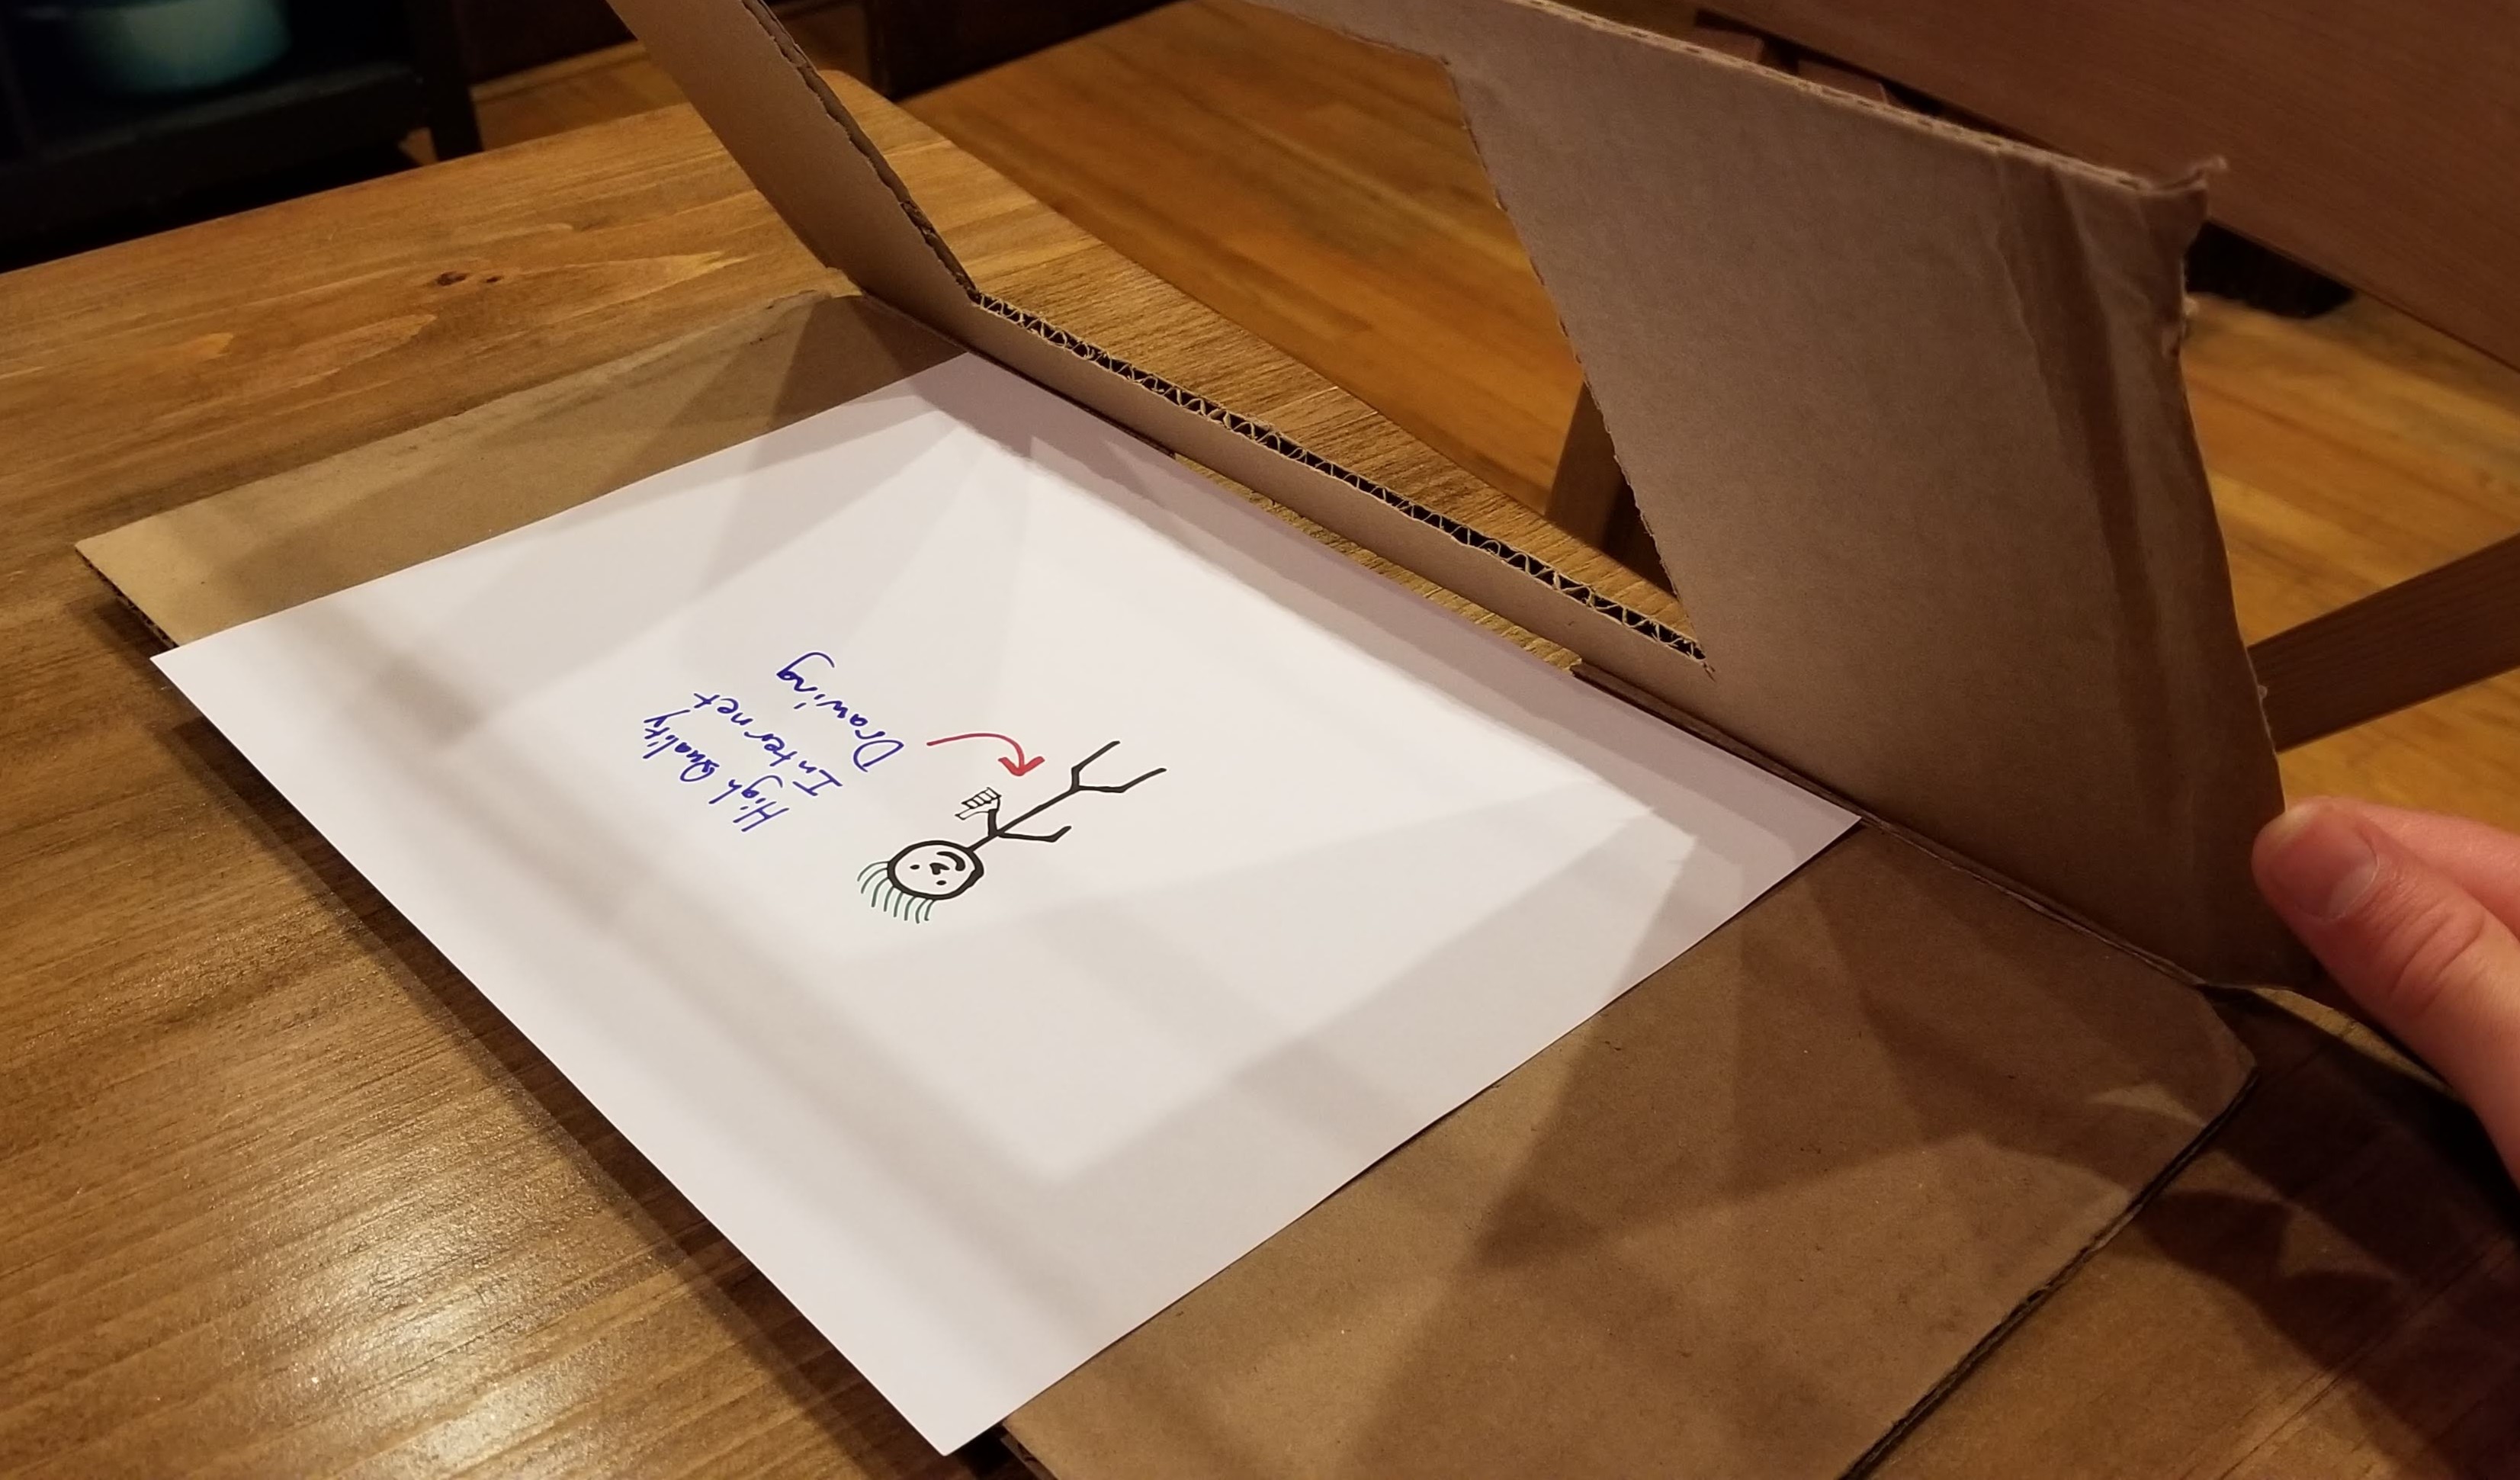
Here’s what it looks like with an image lined up to shoot. Take a fair amount of images, from a bunch of different angles - you can decide which one you like in postprocess in Google Photos!
You Need (Very Light) Digital Retouching
And when I say light, I mean light. Everything that I do to my drawings, I can do through Google Photos. All of my edits are very basic. I generally crop to a size that I like to eliminate any frame or page edges from the drawing, and then apply a real basic filter to make the colors pop. I like the “Metro” and “West” filters for this.
For example: here’s the titlecard image with no color retouching:
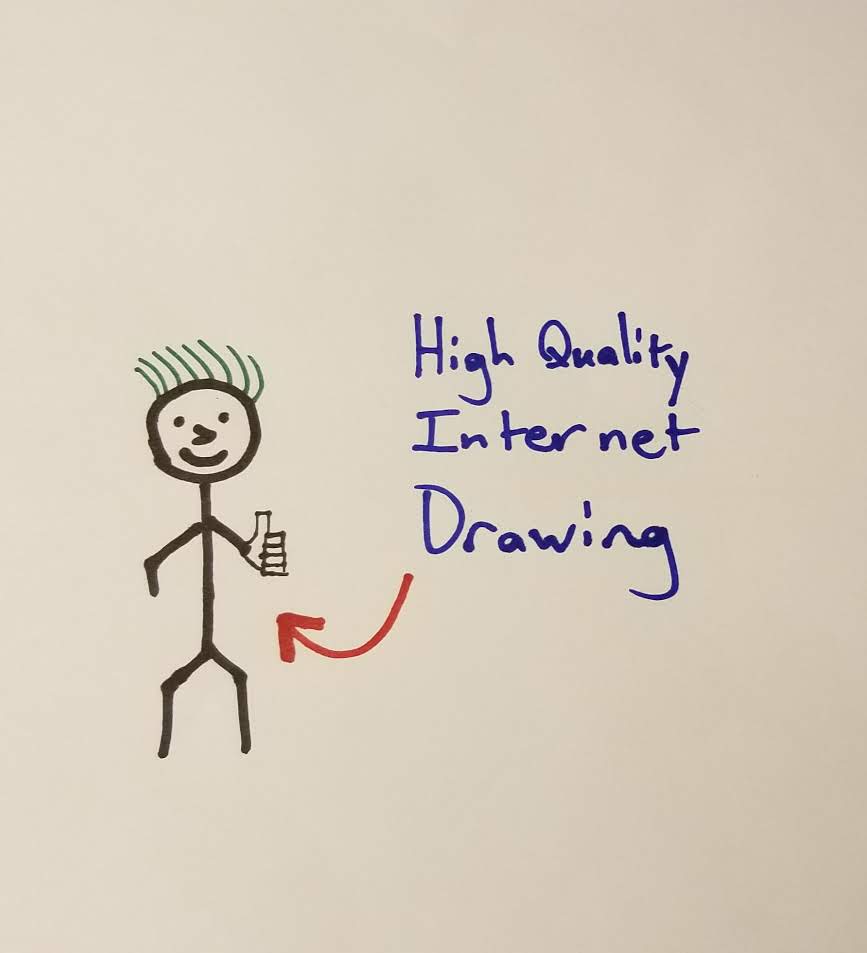
And here it is, run through Google Photos’s “West” filter:
Gets a much better “pop” of all the colors, and a much cleaner white background.
Acknowledgements
Chris D’Amore is my expert on all things photography, and you should go see what some actual pictures look like over on his website.